Garmin Extended Display Mode: not so useful?
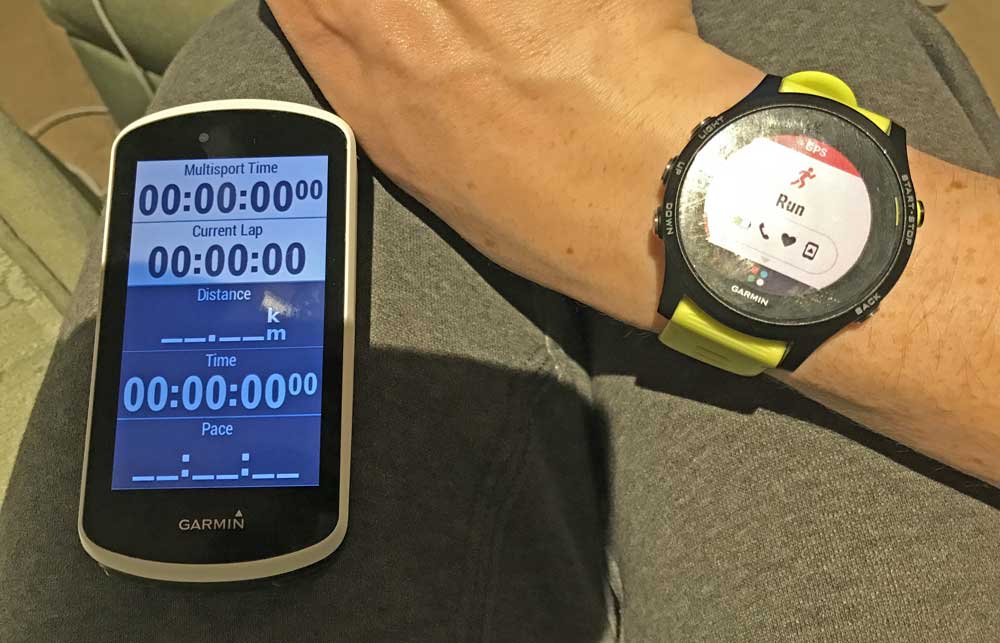
Garmin Edge computers come with a feature called “Extended Display Mode” that allows you to relay your Forerunner watch data through your bike computer. This sounds super handy for triathlon because you will be tracking the activity through your watch, so relaying the data you are already capturing makes a lot of sense.
In reality, though, it’s not a particularly useful feature.
The data screens are driven by the watch. That means that you can only have a few fields on there. I like to have a tonne of stuff on my display, and at very least I would like to see my speed, power, heart rate and cadence. So, I think I’ll be sticking with running them independently for now.