Posts Tagged ‘react’

Writing tests at the API boundary isn’t as clever as you think

Friday, June 7th, 2019 | Programming

Back in the day, unit tests and code coverage were the in thing. You wrote a class, you wrote a unit test for that class. Everything was tested at an individual level and you built integration tests on top of that.

Then we realised that maintaining all of these unit tests was a massive pain in the neck, made it tedious to refactor the code and didn’t provide much value when the real business value was only concerned with everything working together so that the user being able to successfully complete a journey. So, we started writing tests to the API boundary.

Fine. Except it wasn’t fine. The problem is that per-class unit tests are really useful when it comes to understanding other people’s code.

Let’s say we have a component and it is composed of many different internal functions and classes. We write a test to the API boundary so that people can use the component and we know that it works when people use it. That is fine if you are the only person maintaining the component and you have a good memory.

But what if multiple people work on the component and somebody else needs to refactor it? You could try looking in the docs. There are unlikely to be any, though, because it is an internal function. You could try reading the code. This approach is probably the one we rely on most of the time and often works. But if often isn’t too obvious, especially in loosely typed languages with lots of callbacks (*ahem* javascript).

How do you know what goes in and comes out of a function without docs and without types? You don’t. But having a unit test demonstrating stuff being passed in and out is really useful for making an educated guess.

Surviving the JavaScript ecosystem updates of 2018

Tuesday, December 18th, 2018 | Programming

When I first launched the WAM website it was built using a reasonably straightforward stack of React + Babel + Webpack. That was a year or two ago and a lot has happened since then. Notably, there have also been some JS security issues, too, so we’re going to start upgrading the stack on a regular basis.

As anyone who has worked with JavaScript knows, though, that is a massive pain in the ass. Here are some notes on the upgrade process.

Upgrading Gulp

Gulp has now moved to version 4. First off, you need to uninstall any previous versions of Gulp. You then install the Guli CLI globally, and the latest version of Gulp locally.

npm install -g gulp-cli

This was a massive hassle. The uninstalls did not work and I had to manually go through the file system to get rid of the thing.

There were also some changes to the config itself. Any paths such as dest('') had to be changed to dest('.'), and all of the functions that defined the Gulp tasks had to now return, rather than just being called.

return gulp.task('name', () => { });

The way tasks were run within them has also changed. So, anywhere that used tp be ['sass'], for example, now needs to be:

gulp.series('sass')

Ugrading Node

You’ll want to upgrade Node to the latest LTS version. This includes editing the engine in your package.json file, especially if you are using Heroku.

Upgrading React

This was as simple as updating the versions in package.json and running an update. However, I did run into a problem with the React CSS Transition group, where I had to update to a drop in replacement.

npm install --save react-transition-group@1.x
npm remove react-addons-css-transition-group

And then change the import statement to import from:

react-transition-group/CSSTransitionGroup

Upgrading Babel

This was mostly a case of bumping the version numbers, but I also had to update my .babelrc file. I think the spread operator was previously a different package, and I had to change the name.

{
    "presets": ["@babel/react", "@babel/preset-env"],
    "plugins": ["@babel/plugin-proposal-object-rest-spread"]
}

Upgrading Webpack

Again, this started with bumping all of the versions. There were also some config changes. Most notably, Webpack now has an environment property.

config.mode = 'production';

It has also changed the way that UglifyJS is brought in if you’re using that to minify your code. You’ll need to install the new package.

npm install uglifyjs-webpack-plugin webpack-cli --save-dev

And then update your Webpack config, too.

config.optimization = {
  minimizer: [
    new UglifyJsPlugin({
      uglifyOptions: {
        output: {
          comments: false
        }
      }
    })
  ]
}

Hopefully this will come in handy if you are upgrading a similar stack and wondering why everything has exploded.

How to run Webpack Dev Server with PHP

Monday, March 20th, 2017 | Programming

You are making an awesome new JavaScript-based app in React. However, it needs to live inside an existing framework, such as Symfony for PHP. You want the hot-reloading function that you get with Webpack Dev Server, but you also need the content to be served from your LAMP stack because it creates the HTML wrapper page.

What do you do?

The answer is to run two servers: both Webpack Dev Server and your existing Stack. Here is how…

Configuring Webpack

Start by installing Webpack Dev Server as usual.

npm install --save-dev webpack-dev-server

Create a script entry in package.json to run it:

"scripts": {
    "start": "node ./node_modules/webpack-dev-server/bin/webpack-dev-server.js"
}

We also need to make one change to our webpack.config.js file. We need to tell the output to point back at the Webpack Dev Server. Otherwise, it will point at your LAMP stack.

output: {
    publicPath: 'http://localhost:8080/scripts/'
}

Super. Next, let’s configure the LAMP stack.

Configuring your existing server

This step is easy. All we need to do is to point the JavaScript at the Webpack Dev Server.

Let’s say you have this at the moment:

<script src="/scripts/app.js"></script>

Change it to:

<script src="http://localhost:8080/scripts/app.js"></script>

Remember that when you are building for production, you will want to take the changes out. The easiest way to do this is to have a dev webpack.config.js file, and a production one, and have your build tool use the correct one depending on the context.

Building an online checkout with Stripe and React

Monday, March 13th, 2017 | Programming, Tech

Worfolk Anxiety recently launched its web store. We build this for a number of reasons. One is that it gives the customer a better experience because they can buy one eBook and get it in every format. Another is that it makes it a lot easier for us to offer upsells and tripwires.

Payment processor

We’re using Stripe as the payment processor. Stripe has become very popular over the past few years because it allows you to build an entirely integrated checkout process without any mention that Stripe is behind it.

How do they do this without requiring you to have PCI compliance on your server? It is all done client-side. You include their JavaScript library. This hashes the credit card details the customer enters and sends it off to stripe’s servers. Stripe then send you back a hash that you can then use to make server-side credit card charges.

Using React

Given so much of the work has to be done in JavaScript, React was a good choice for building the checkout. This allowed me to make it interactive and give the user clear and speedy feedback.

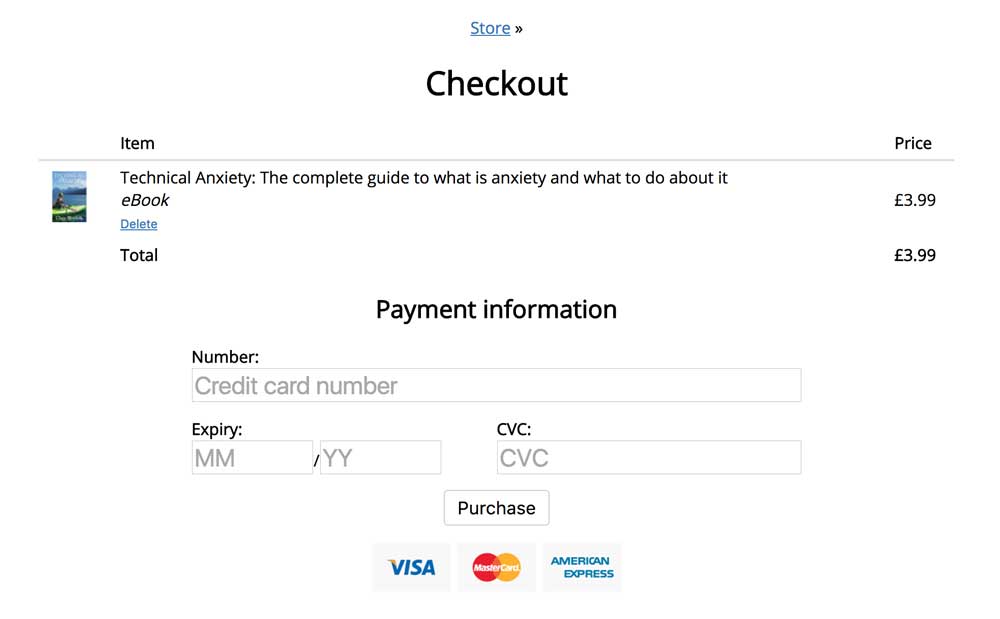
In the case of our checkout process, you are asked to enter your credit card details. Once you have done this, further fields are revealed asking you to enter your name and email address. This step by step approach is a better experience for the customer because they do not get overloaded.

Deploying with Webpack

The finally step is Webpack. This takes the JavaScript and packages it up for the browser. Because the JavaScript is written in ES6, and web browsers only support ES5, it first uses Babel to transpile it back to ES5, before loading everything into one single module and compressing it.