Make your videos look awesome with a shallow depth of field
Saturday, March 18th, 2017 | Video
If you have done any talking head or tutorial videos, you may have run into a problem. Namely, that your videos suck. I know mine do. Yours are probably way better. But there is still a clear distinction between your videos and what the pros produce, right?
This is the problem I have been trying to solve. I have a nice camera, so it should be possible.
Lighting
The first thing I did to improve my videos was to bring in some proper lighting. I have two softboxes with high-output bulbs on them. In an ideal world, you would have three to set up the industry-standard three point lighting arrangement. My kit only came with two, though, so I have had to make do with other lights around my house to fill in the gaps.
For comparison, here is me under my natural houselights:
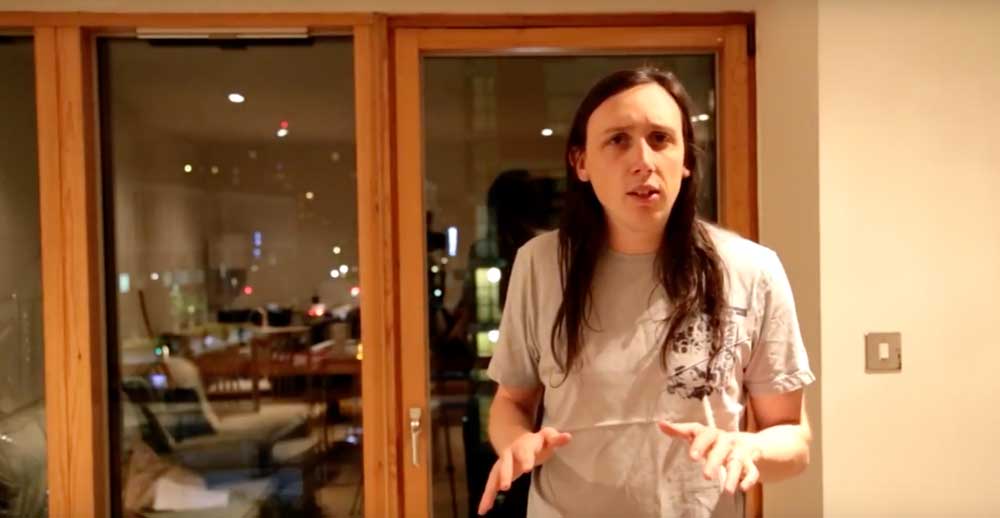
It doesn’t look terrible: it appears natural. However, one side of my face is over-exposed while the other is in shadow. My eye sockets are too dark. Detail is lost.
Here is my ugly face in the studio lights:
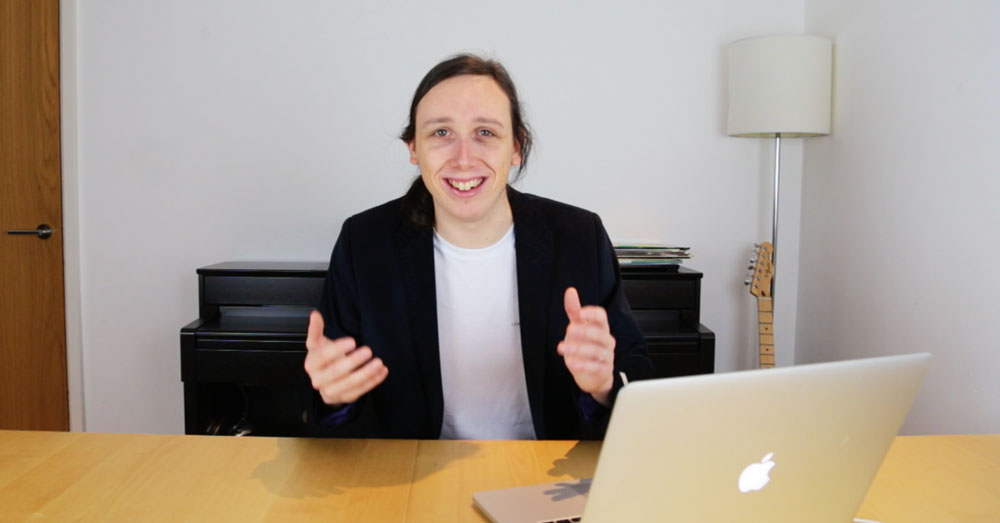
Notice that the shadows in my face are filled in. It is not the dark and gloomy picture you tend to get when just using your standard home lighting.
Things are looking a little better. My next jump is the one I want to discuss in this blog post: using a shallow depth of field.
Why depth of field is important
Most people do not have a home studio. Therefore, your background is whatever you can find. In the video still above, I have the piano in the background. This works well but does mean I have nothing but hard surfaces behind me, resulting in a lot of echo.
Any background is going to be distracting, though. The ideal solution is to have the background blurred so that the audience focus on the talent exclusively.
Using a large aperture
The way we create this affect is using a large aperture. The above clip was filmed with my 24-105mm lens. This is a nice piece of kit but only goes down to f4. So I switched it out for my 50mm prime lens so that I could shoot at 50mm.
Here is the result:
I spent no time getting the lighting right, composing the shot to make sure I was in it, or working out what I was going to say. And yet, it looks cool. I am in focus while the window behind me is very blurred.
How to keep yourself in focus
The pros have someone to shoot the video and somebody else to be the talent. When you are on your own, you do not have that luxury. One of the problems with shooting at a high aperture is that the depth of field is incredibly shallow. This is the effect we want: however, it does mean it is tricky to get the focus point correct and stay within in.
Enter EOS Utilities from Canon. This little piece of software allows you to remotely control your camera from your computer.
My EOS 6D has wifi. However, I could not shoot live video over wifi. Therefore, I had to connect it using the mini-USB port on my camera. Once I had done this, I was able to get full control over the live shooting mode from my laptop.
This means that I can be in position and then set the camera up. By clicking on the screen where I want the focus to be (my head) the camera’s autofocus then adjusts to set it correctly.
Remember that if you want full control, you need to set the camera to manual (M). This applies for the software, too: if you want all of the controls on your computer, you need to alter the dial on the camera itself.
If you have done any talking head or tutorial videos, you may have run into a problem. Namely, that your videos suck. I know mine do. Yours are probably way better. But there is still a clear distinction between your videos and what the pros produce, right?
This is the problem I have been trying to solve. I have a nice camera, so it should be possible.
Lighting
The first thing I did to improve my videos was to bring in some proper lighting. I have two softboxes with high-output bulbs on them. In an ideal world, you would have three to set up the industry-standard three point lighting arrangement. My kit only came with two, though, so I have had to make do with other lights around my house to fill in the gaps.
For comparison, here is me under my natural houselights:
It doesn’t look terrible: it appears natural. However, one side of my face is over-exposed while the other is in shadow. My eye sockets are too dark. Detail is lost.
Here is my ugly face in the studio lights:
Notice that the shadows in my face are filled in. It is not the dark and gloomy picture you tend to get when just using your standard home lighting.
Things are looking a little better. My next jump is the one I want to discuss in this blog post: using a shallow depth of field.
Why depth of field is important
Most people do not have a home studio. Therefore, your background is whatever you can find. In the video still above, I have the piano in the background. This works well but does mean I have nothing but hard surfaces behind me, resulting in a lot of echo.
Any background is going to be distracting, though. The ideal solution is to have the background blurred so that the audience focus on the talent exclusively.
Using a large aperture
The way we create this affect is using a large aperture. The above clip was filmed with my 24-105mm lens. This is a nice piece of kit but only goes down to f4. So I switched it out for my 50mm prime lens so that I could shoot at 50mm.
Here is the result:
I spent no time getting the lighting right, composing the shot to make sure I was in it, or working out what I was going to say. And yet, it looks cool. I am in focus while the window behind me is very blurred.
How to keep yourself in focus
The pros have someone to shoot the video and somebody else to be the talent. When you are on your own, you do not have that luxury. One of the problems with shooting at a high aperture is that the depth of field is incredibly shallow. This is the effect we want: however, it does mean it is tricky to get the focus point correct and stay within in.
Enter EOS Utilities from Canon. This little piece of software allows you to remotely control your camera from your computer.
My EOS 6D has wifi. However, I could not shoot live video over wifi. Therefore, I had to connect it using the mini-USB port on my camera. Once I had done this, I was able to get full control over the live shooting mode from my laptop.
This means that I can be in position and then set the camera up. By clicking on the screen where I want the focus to be (my head) the camera’s autofocus then adjusts to set it correctly.
Remember that if you want full control, you need to set the camera to manual (M). This applies for the software, too: if you want all of the controls on your computer, you need to alter the dial on the camera itself.