Mavic Crossride bike shoes review
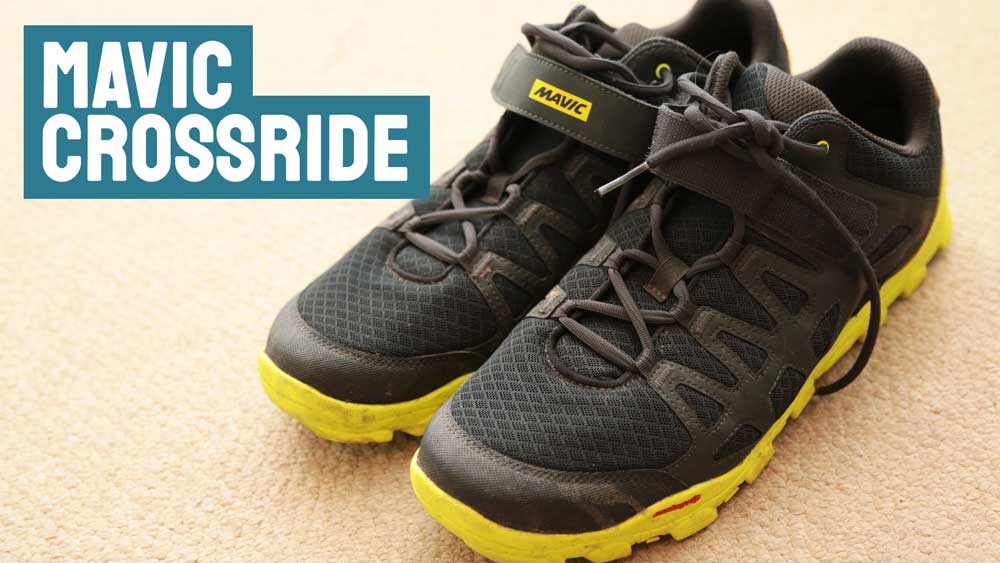
At first glance, you may not realise the Mavic Crossride are bike shoes. They look like trainers. But, hidden beneath the bright yellow sole is an inset SPD cleat (mountain bike cleat) that allows you to ride clipless while wearing a really comfortable shoe.
In this video, I’ll review the shoes and show you what they look like while cycling.
They’re not trainers, as you figure out when you put them on. The rubber sole is big and chunky and takes out a lot of the flex. They suggest you could go hiking in them, and that’s true, but you couldn’t go running in them because the sole is too thick and because the metal cleat does make contact with the ground. It doesn’t leave you walking like a duck but you can hear the clink.
Making them more comfortable and a little more flexible also means that they are not as stiff as road shoes. But that is the standard trade-off with mountain bike shoes.
The upper comes with both laces and a velcro strap. I tend to tie the laces in a single knot and then use the velcro strap to do the final tightening, which is easy to re-do later if it turns out you tied them a little loser than you would like.