Brooks Ravenna 10 review
The Brooks Ravenna 10 is a running shoe that offers a resolve sole, 10mm drop and mild support. It uses the Brooks GuideRails system to provide said support when needed. In this review, I’ll look at the men’s edition, but there is a woman’s edition, too.
It has some cushioning, but not too much, and even more generous cushioning on the tongue. The inside feels silky smooth: I can happily go around in these without socks. It weighs in at 280g, just slightly above what the Brooks website promises. There is plenty of space in the toe box for my big toe.
After a month of running the shoe still looks in great condition, except for the inside of the heal, which has started to bobble. No splits yet and hopefully, it will stay that way.
Unfortunately, the Ravenna has one major drawback: it loses a lot of grip in the wet. If you are running in the rain, or even if the ground is damp, you tend to slip and slide all over the pace. Friends who run in Brooks report the same problem to me. This is super frustrating because it rains a lot in England and having to check the weather forecast every time I am going out in them is a chore.
In short, this is almost an amazing running shoe. I love it in the dry. However, losing so much grip in the wet means that this shoe ultimately gets the thumbs down from me I’m afraid.
Looking for running shoes with mild support? Consider the Brooks Asteria if you want a racing shoe with less cushioning, or the excellent Nike Zoom Span.
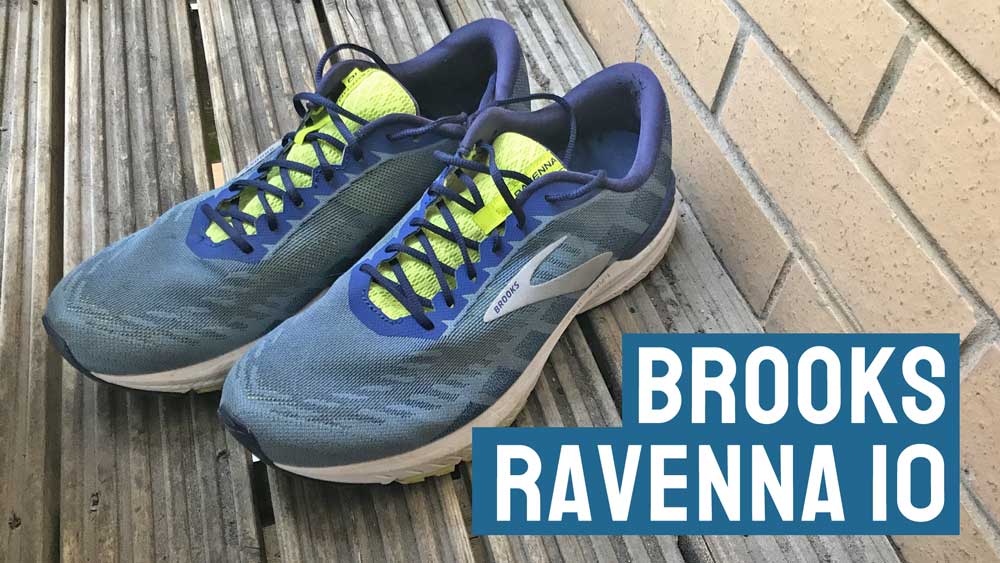