If you are an age-group triathlete or amateur time-trialist, nothing will give you free speed like aero bars. In this video, I will discuss the pros and cons, show you how to get some onto your bike and give you some tips on how to get started with them.
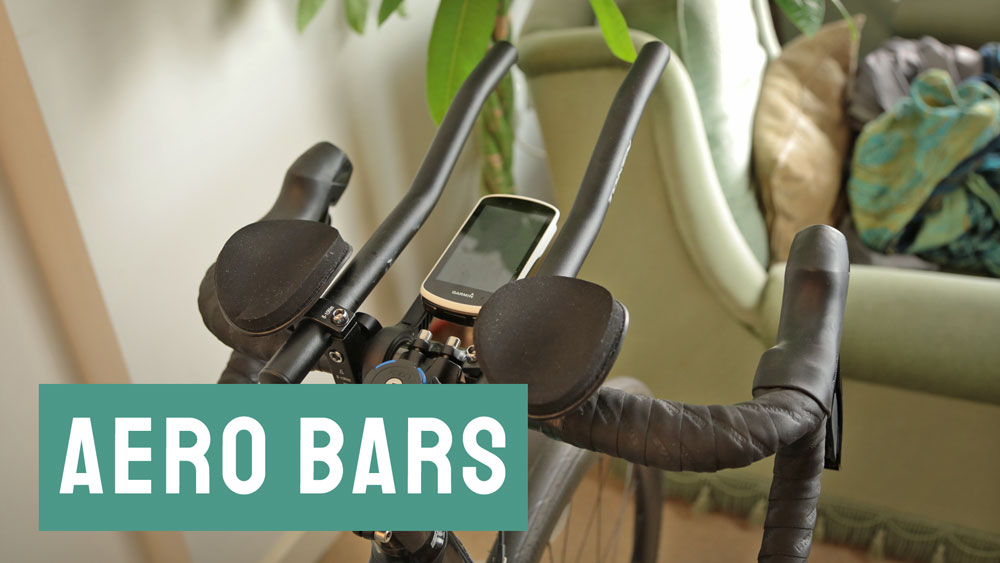
Aero bars, also known as tri bars, allow you to get into a much lower, aerodynamic position. The downside is that your hands are miles away from my brakes, and closer together, so it can be a little intimidating to lose some control. They also take up a lot of space on your handlebars.
Comfort is a mixed bag. Most people struggle to cycle in the aero position. However, I found it about as comfortable as sitting up. If anything, it was slightly easier on my back.
Performance gains
The speed gain is substantial. Between Alltherorpe Classic standard distance triathlon in 2018 and 2019, I improved my bike split by 11:28. Of course, it could be that I was fitter. But comparing Allerthorpe sprint triathlon a month earlier, my power was 20 Watts lower, and yet my average speed was up 5%. So, more speed for less power.
Getting them on your road bike
You can buy clip-on aero bars for around £30. These bolt onto your handlebars so you can turn a standard road bike into a time trial bike. It is best to use a torque wrench if you can, as clamping them on to the recommended 8-10 Nm can be scary without one. It also helps to wrap some electrical tape around your handlebars to protect them.
Depending on your bars, they will be adjustable in different ways. Typically, you can adjust them by changing the angle and gap between them on the handlebars, by moving the bars themselves backwards and forwards and by changing the rotation of the armrests.
When you are getting started, you want to keep them fairly flat, as having them diagonally upwards in the praying mantis position will make you slightly more aero but will also make it more difficult to control the bike.
Riding on aero bars for the first time
When riding, there are several things you can do to get comfortable cycling with them. One option is to keep one hand on the hoods and put the other on the bars, then gradually lift the hand off the hoods. I am not a big fan of this because it is harder to control with only one point of contact than it is when you have both hands on the bars.
Another option is to find a small hill, say a 1-2% gradient, and go up it. This will allow you to put a lot of power through the bike while still going at a relatively slow speed.
You can also spend some time moving your hands between the hoods and the bars to get used to getting in and out of the aero position. As you get used to them, you will get used to having a little less control: this means sacrificing some of the small adjustments you would normally make in favour of a wider berth and leaning the bike a little more.
Ultimately, though, once I got comfortable, it just clicked. Like learning to ride a bike in the first place, once you “get it”, you should be away. Good luck!
Don't have time to check my blog? Get a weekly email with all the new posts. This is my personal blog, so obviously it is 100% spam free.
This entry was posted on Sunday, August 18th, 2019 at 11:00 am and is filed under Video. You can follow any responses to this entry through the RSS 2.0 feed. Both comments and pings are currently closed.