I’ve used DSLRs for a decade now, including my 6D for five years. In that time, I’ve never had an accident with it. That is, until now.
I was out filming on a windy day and I didn’t put enough weight on the tripod. The wind caught it and over it went, lens first.
Luckily, it was nowhere as bad as it could have been. I put a UV filter on the front of all of my lenses in an attempt to protect them. It worked: the filter smashed but the lens underneath it surprised. So, a quick repair at the local camera shop, a new UV filter and a new lens hood and the camera was as good as new.
What should we learn from this? Weight your tripod and make sure you have a filter on the front of your lens, even if it is only there for protection.
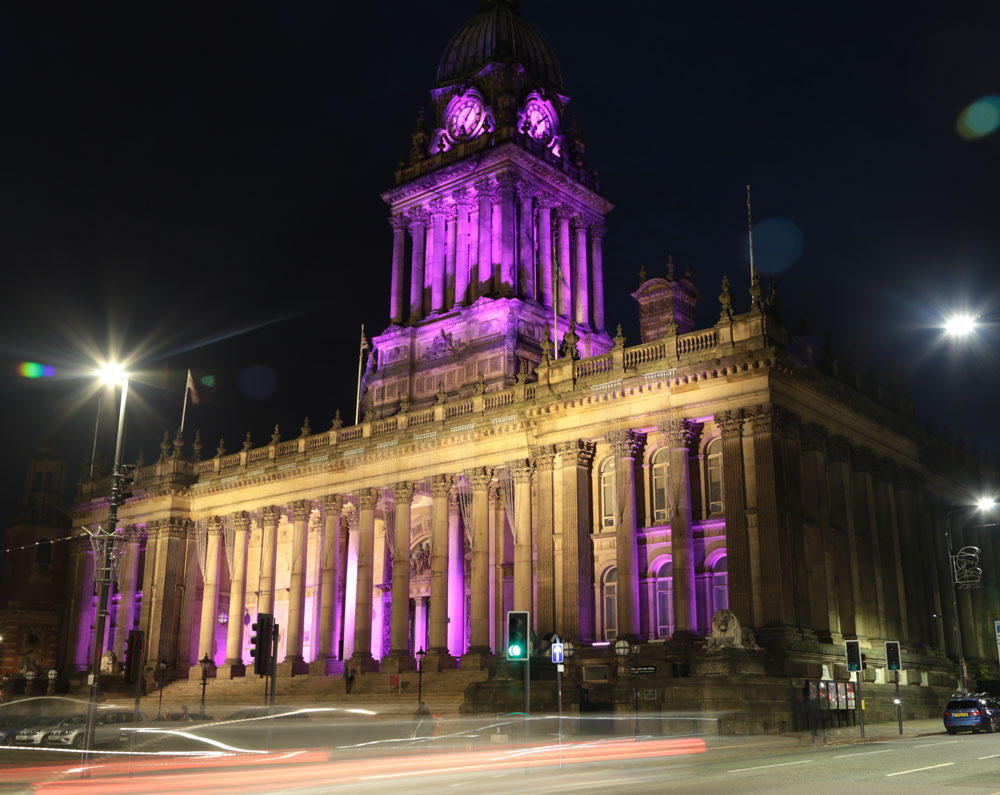
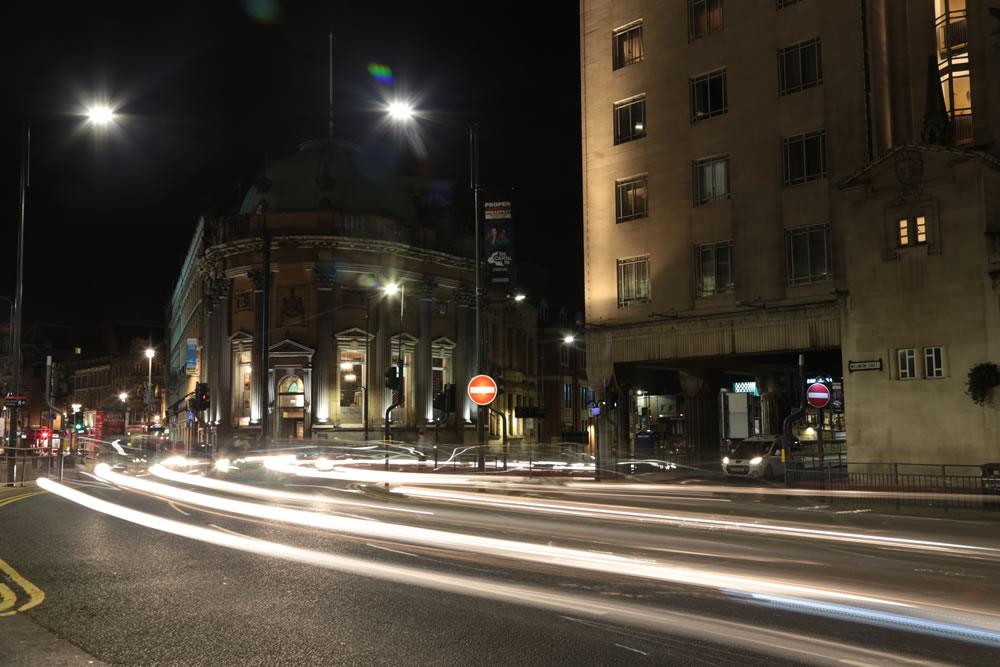
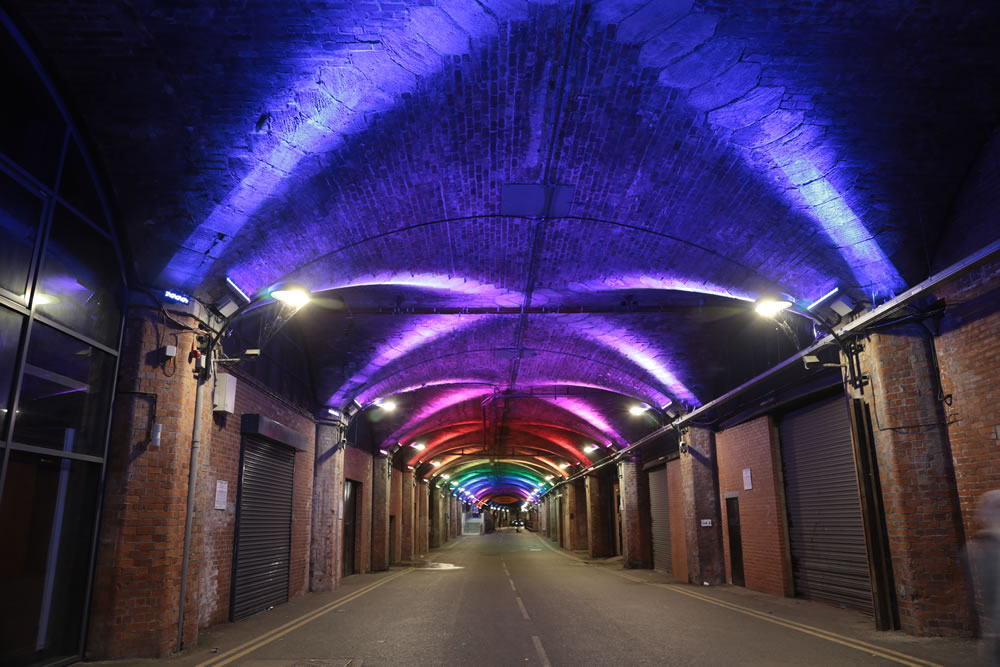
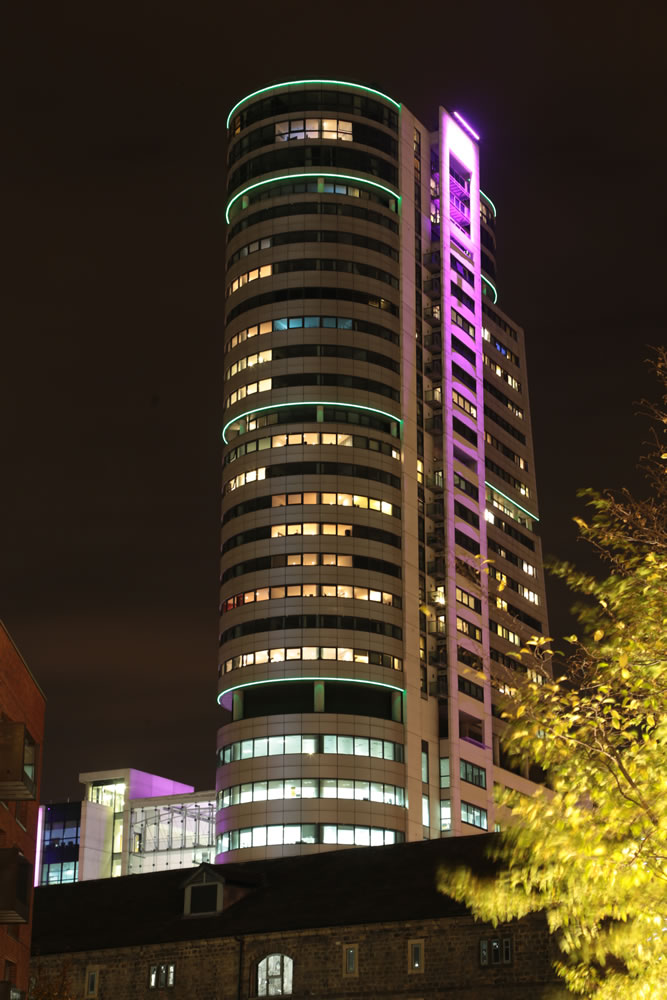
Earlier this month, I went on a night photography course around Leeds.
I didn’t really learn anything because I knew all the techniques, but having an experienced photography tutor there to remind you all the stuff you have forgotten and who has an eye for the perfect angle, is invaluable in getting great shots. And it was a lot of fun.
If you have done any talking head or tutorial videos, you may have run into a problem. Namely, that your videos suck. I know mine do. Yours are probably way better. But there is still a clear distinction between your videos and what the pros produce, right?
This is the problem I have been trying to solve. I have a nice camera, so it should be possible.
Lighting
The first thing I did to improve my videos was to bring in some proper lighting. I have two softboxes with high-output bulbs on them. In an ideal world, you would have three to set up the industry-standard three point lighting arrangement. My kit only came with two, though, so I have had to make do with other lights around my house to fill in the gaps.
For comparison, here is me under my natural houselights:
It doesn’t look terrible: it appears natural. However, one side of my face is over-exposed while the other is in shadow. My eye sockets are too dark. Detail is lost.
Here is my ugly face in the studio lights:
Notice that the shadows in my face are filled in. It is not the dark and gloomy picture you tend to get when just using your standard home lighting.
Things are looking a little better. My next jump is the one I want to discuss in this blog post: using a shallow depth of field.
Why depth of field is important
Most people do not have a home studio. Therefore, your background is whatever you can find. In the video still above, I have the piano in the background. This works well but does mean I have nothing but hard surfaces behind me, resulting in a lot of echo.
Any background is going to be distracting, though. The ideal solution is to have the background blurred so that the audience focus on the talent exclusively.
Using a large aperture
The way we create this affect is using a large aperture. The above clip was filmed with my 24-105mm lens. This is a nice piece of kit but only goes down to f4. So I switched it out for my 50mm prime lens so that I could shoot at 50mm.
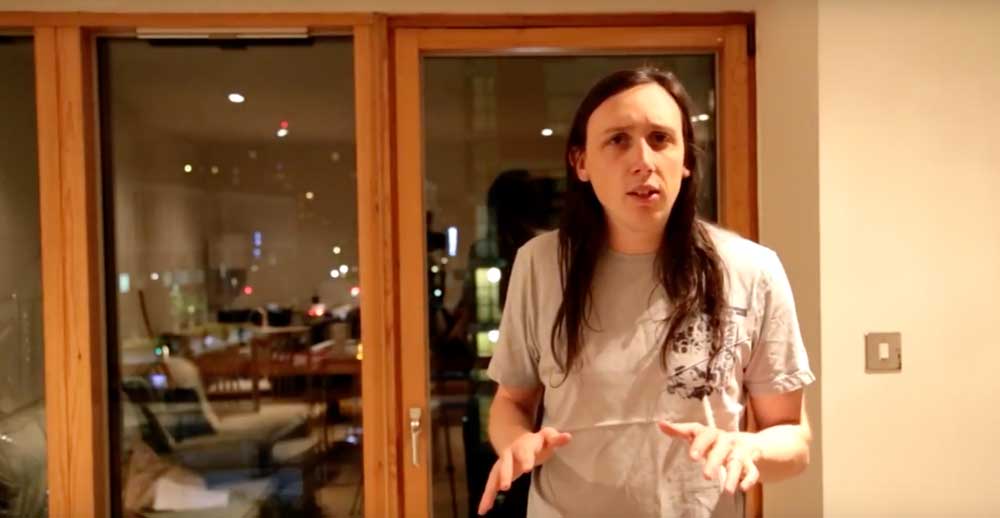
Here is the result:
I spent no time getting the lighting right, composing the shot to make sure I was in it, or working out what I was going to say. And yet, it looks cool. I am in focus while the window behind me is very blurred.
How to keep yourself in focus
The pros have someone to shoot the video and somebody else to be the talent. When you are on your own, you do not have that luxury. One of the problems with shooting at a high aperture is that the depth of field is incredibly shallow. This is the effect we want: however, it does mean it is tricky to get the focus point correct and stay within in.
Enter EOS Utilities from Canon. This little piece of software allows you to remotely control your camera from your computer.
My EOS 6D has wifi. However, I could not shoot live video over wifi. Therefore, I had to connect it using the mini-USB port on my camera. Once I had done this, I was able to get full control over the live shooting mode from my laptop.
This means that I can be in position and then set the camera up. By clicking on the screen where I want the focus to be (my head) the camera’s autofocus then adjusts to set it correctly.
Remember that if you want full control, you need to set the camera to manual (M). This applies for the software, too: if you want all of the controls on your computer, you need to alter the dial on the camera itself.
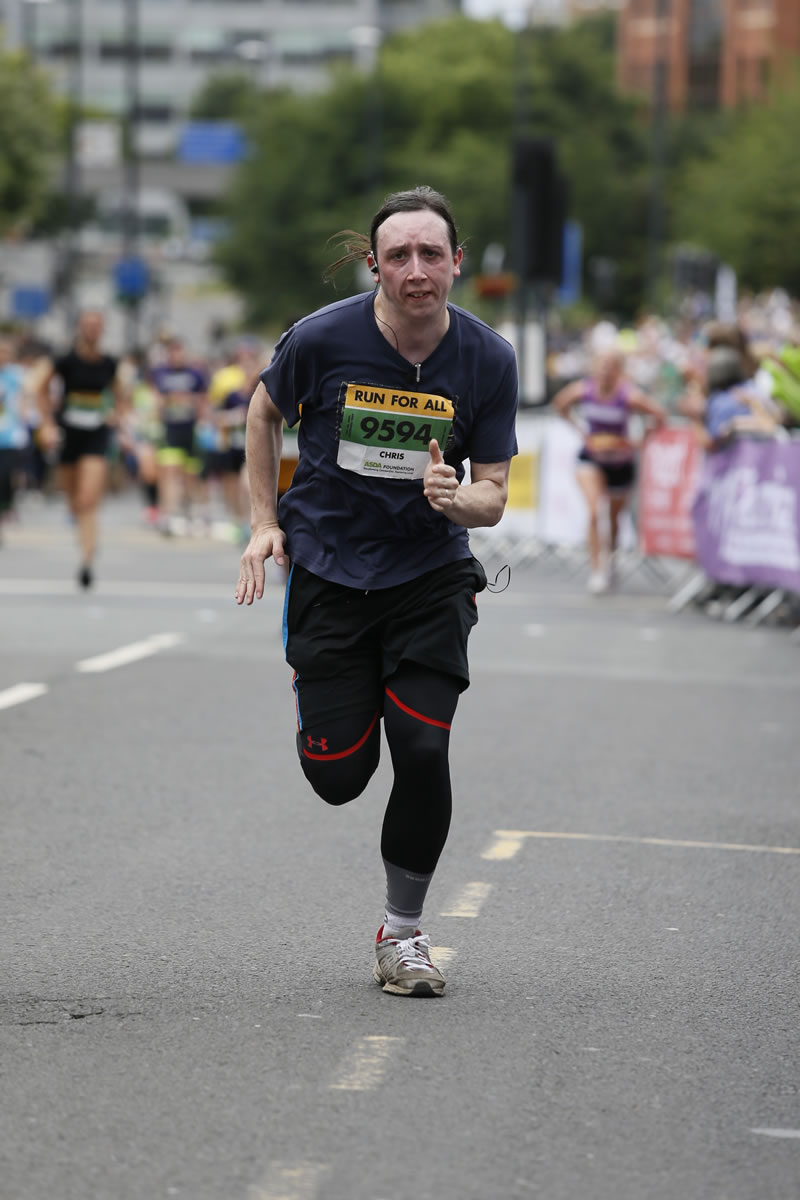
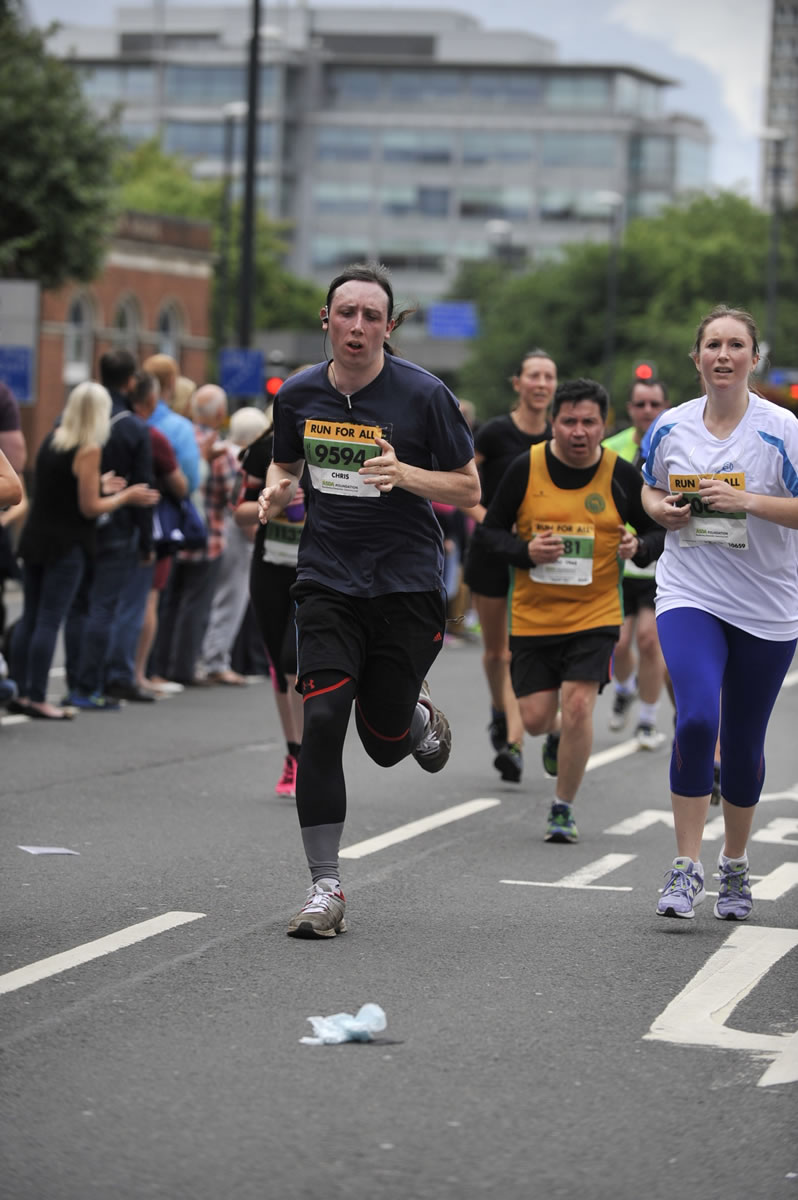
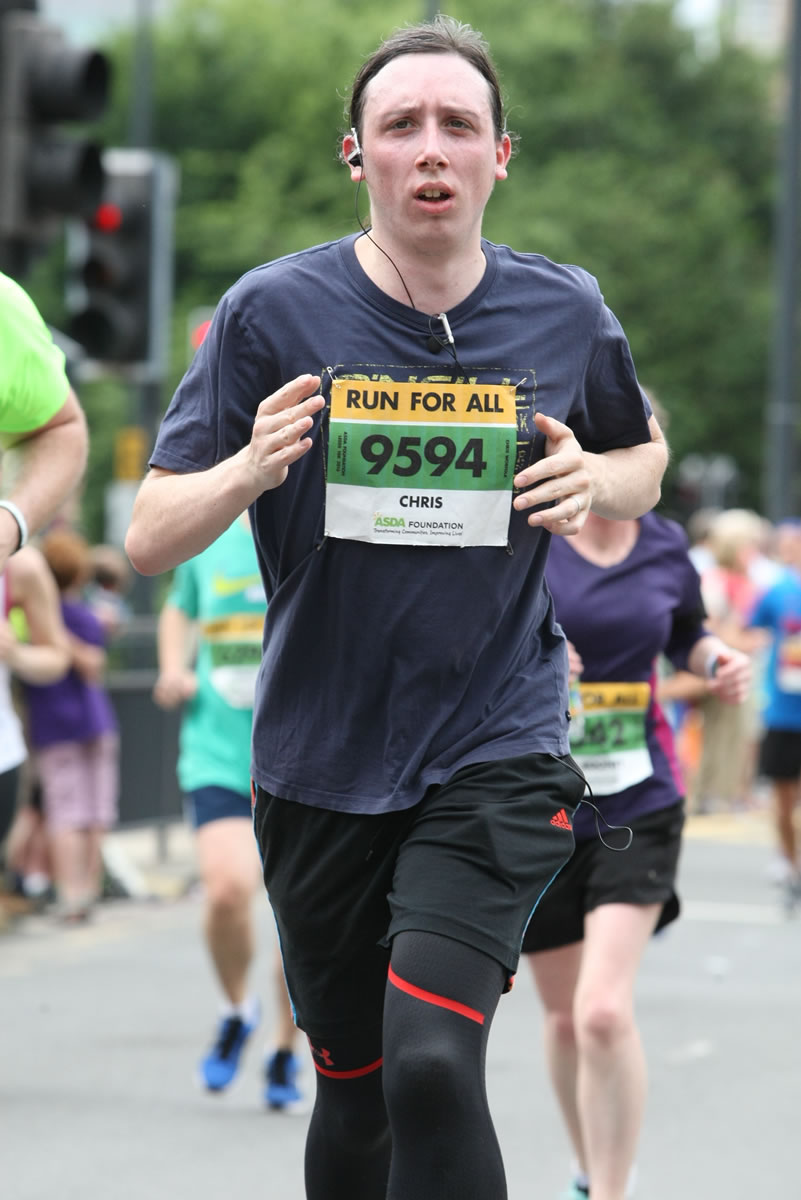
When you run a 10k, there are often people taking photos of you on the way round. I usually ignore them because I look awful in the photos, but the ones from this year’s Run For All Leeds 10k look better than normal.
The thumbnails are all square, and therefore chop my head off, but if you click them I do have a head somewhere.
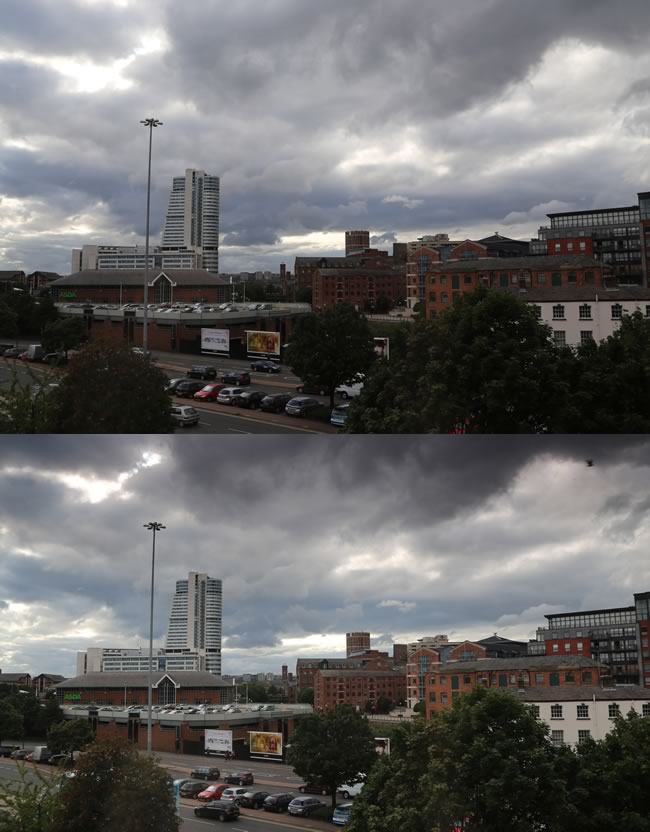
Dan recommended me a budget set of ND grad filters. They’re £16 so you would expect them to be terrible but all the reviews on Amazon spoke highly of them, so I gave them a go. I’ve literally taken a few photos out of my windows so far, and at 25mm I get some serious Vignetting, but at 35mm and beyond it produces good results.
The top image is taken without the ND grad and the details of the building faces and trees are lost. The bottom image is taken with the ND grad and has far more foreground detail while still maintaining the dark and stormy look of the clouds.
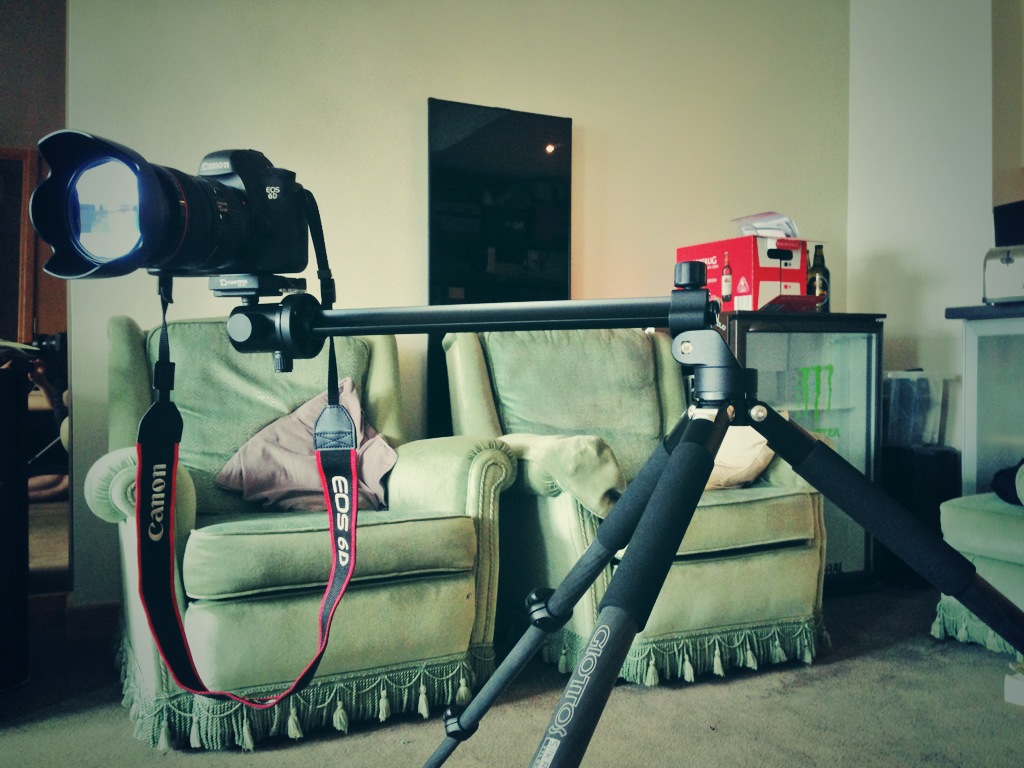
Further to my rant about Bristol Cameras recently, the new new tripod is finally in my possession and seems to be holding up quite well.
I’m sure I’m that told on the ball head as it is more complicated than simply setting up and having a flat platform. It takes it easier on an uneven surface of course, but it still rather fiddly.
It has a lot of nice features though. All the legs work independently, and the foam padding really makes a difference in the cold. The feed unscrew so you can replace them with spikes (though you have to buy those extra) and there is a retractable hook in the bottom of the centre column for hanging weights/bags to. The legs also have three different settings for how far out they are.
The centre column itself comes all the way up, and then you can even swivel it up to 90 degrees out flat as shown in the picture. It has a pan-only mode too.
As mentioned I got the Giottos ball head version two with it that while fiddly, seems to do its job. It has a pan mode as well, a quick release head and two spirit levels, though they’re a bit slow to move and hard to see once you have the camera on there.
Recently I bought myself a new tripod. I ordered through Bristol Cameras as they were one of the few retailers that said they had what I wanted.
My first experience wasn’t great. I had originally ordered a lens cap from Amazon, but they kept sending me emails saying there was a delay in stock arriving (they never said they had any in but I wasn’t in a hurry), so in the end I cancelled it and ordered from Bristol Cameras instead.
After doing that I got an email from them saying they didn’t have any in, the item had been discontinued and they could replace it with something else but they had no idea when the replacement would be arriving. They don’t have online cancellations, so I had to phone them up and cancel.
This time, when I ordered, I waited four days before they attached a note to my order saying that the item had been discontinued and they didn’t have any, but recommended a replacement item with similar features.
This cost £50 more so I had to phone them up again and make another payment over the phone.
Having done this, the item took another two weeks to arrive. I finally got my tripod, or at least a version similar to what I had ordered, 19 days after placing the original order.
On the positive side, they did answer their phone both times I’ve called them, and here was no big queue, they answered pretty much straight away. But it has felt like a bit of an ordeal, and I think they should be more honest and with no stock information, lead times are a bit of a mystery.
This was my second day out photographing one of our local american football teams, the Yorkshire Rams. Here is what I learned…
Set the white balance manually. During the Lancashire Wolverines game I left it on auto, whereas in this game I manually set it to cloudy and left it there. The photos came out a bit cold in the first game and a little inconstant too. This time they have a more consistent, warm feel.
An exposure of 1/500 is not fast enough to freeze the action. It is OK for players running around but when the ball is being thrown, you need at least 1/1000. When I photograph birds in flight I use 1/1250, and the ball is probably moving faster than that, so makes sense.
I tried taking off my 2x extender and just using my 70-200mm lens (whereas with the extender on I would get a focal range of 140-400mm), as this allowed me to open the aperture up to 2.8. I didn’t see much benefit though, I was already shooting at around ISO 100, so I simply didn’t need to open it up to that unless I specifically wanted to do so, and while that allows me to easily blur at the background, it makes it difficult to keep everything in focus. So 140-400mm f5.6 it is then; it is broad daylight after all.
I also tried increasing the ISO to 3200 in an attempt to get a much greater depth of field. This allowed me to work at up to f11 even at 400mm, again I didn’t see a great deal of difference, but I might give it another go next time and see if I can shoot some catches and plays where I don’t have time to re-focus the camera.
I used AI servo and back button focusing for this shoot. That means I turned off auto focus activation when you press the shutter half way down (I posted a video on how to do this a few weeks ago), and used a button on the back to activate it instead. Because it is in AI servo mode (continuous auto focus), I could then press this button on the back to focus, hold it if I wanted it to work continuously and then release when I wanted to take a shot, or even leave it going the whole time. Mostly I focused and then left it alone, unless the action started coming towards or away from me.
There is also an element of luck to it. I was shooting in continuous mode, but cameras can only take so many shots per second, and given a kick of a throw takes less than one, being able to capture the exact moment comes down to chance. Of course, the more expensive your camera is, the more it can take – my 6D clocks in at 4.5 I think, whereas if you have a 5D Mark III it can take up to 6.
You can find some of the photos in a previous blog post.
Higher end Canon EOS cameras have two types of shooting modes – regular and silent. I use silent almost all of the time because I find regular quite loud and annoying. However, surely there must be some disadvantage to it, or they would just have silent mode as the only mode and be done with it.
The answer is it is to do with how fast the camera can take photos.
Under regular continuous shooting, my EOS 6D can burst to 4.5 frames per second, whereas on silent continuous mode, it slows down to 3fps. So if you’re trying to capture action and things in motion, best switch off the silent mode until after you’re done.