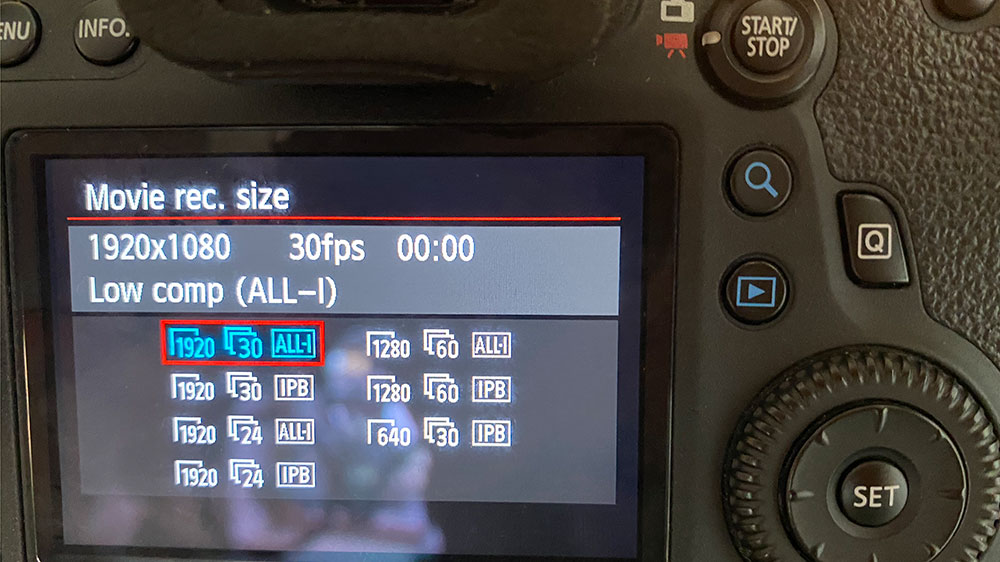
One of the things that totally flummoxed me was trying to change my Canon DSLR from shooting video at 24 fps to 30 fps. It simply was not on the screen: I only had 24, 25 and 50 as options. And nobody on the internet seemed to have had the same problem.
I suspected it might be a legacy problem of PAL vs NTSC but I could not work out how to change it. In the end, I managed to find the menu option and my suspension was correct: once I changed the setting from PAL to NTSC I was then able to access 30 and 60 fps.
If anyone else is struggling with the same issue, or trying to get 24 fps on a NTSC-configured Canon, here is how to change it:
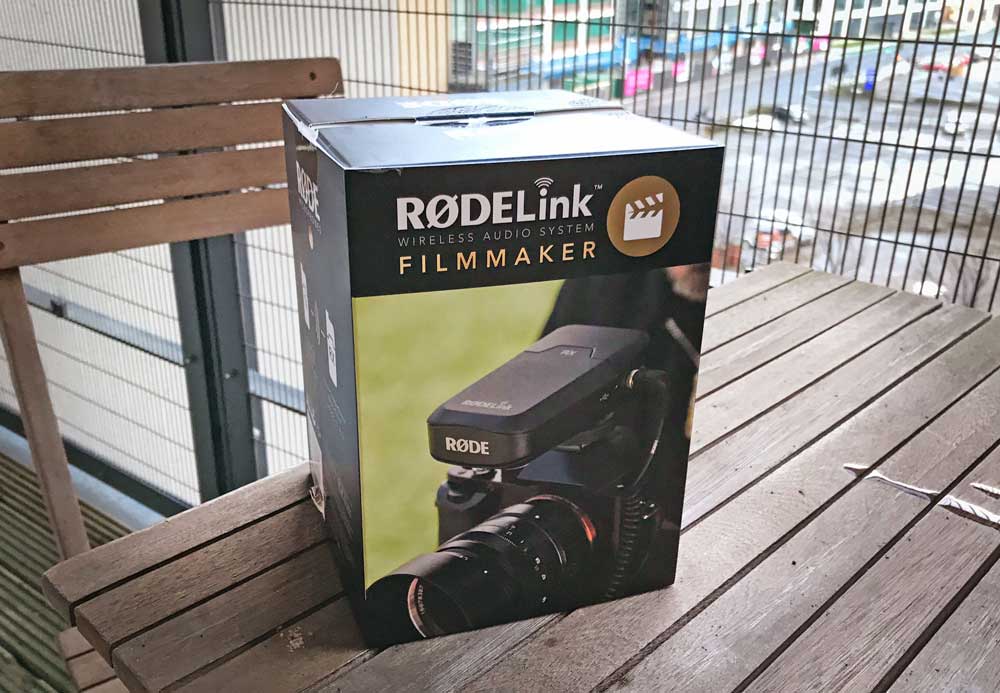
The RØDELink Filmmaker kit is a wireless lavalier microphone specifically designed for filmmakers shooting on DSLR cameras. In this video, I’ll take it out of the box and show you what is included.
The kit is comprised of two parts: a receiver that plugs into your camera, complete with shoe adapter. The second half is the receiver that clips onto your belt. You plug the lavalier microphone into the unit.
The sound quality is okay out of the box but did require me to fiddle around with the levels somewhat to get it working. Setup took around five minutes as I just needed to hit the sync button on each unit a few times.
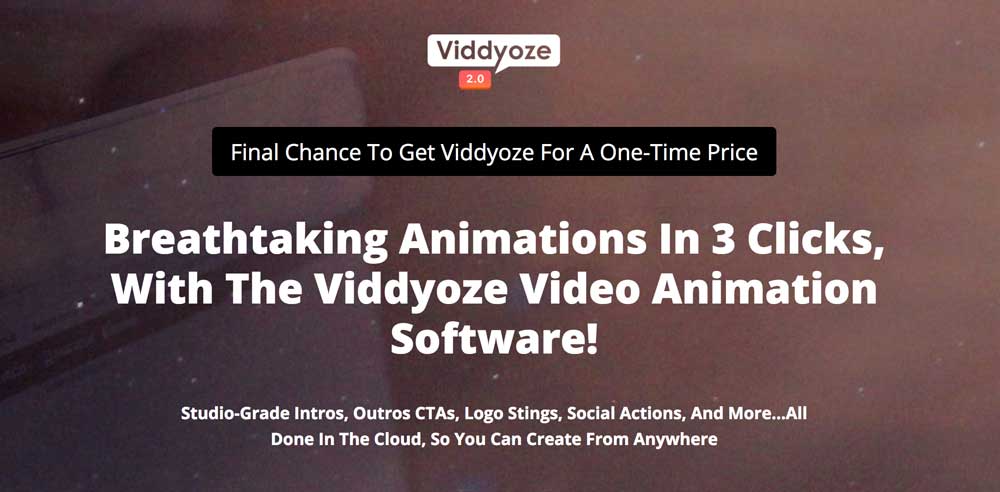
Viddyoze is a cloud-based service that allows you to create intros and outros for your videos.
If you are not familiar with what they offer, here is one of the promotional videos from their YouTube channel:
This is my review. There is no promo code at the end: I know a lot of the “reviews” end with here is an affiliate link, but I don’t have anything like that. It’s just my perspective.
Pricing
It is priced at a one-time fee of $47 for the personal licence (30 renders per month) and $67 for the commercial licence (unlimited renders per month and the right to resell the renders).
It is advertised as being discounted down from $97 per month and $197 per month. However, it is not clear where these figures come from. As far as I know, these prices have never been used. I first saw Viddyoze months ago and the prices haven’t changed, so this isn’t a short-term discount, either.
However, it is also an additional $37 per month for access to the “template club”. I will talk more about this below.
What do I think of it?
I signed up and got access within a few minutes.
However, The first thing I was presented with was an upsell for the template club. This was an additional monthly subscription that gives you access to most of the templates. So, for example, if you wanted their promotional video, you will have noticed there are loads of cool intros and outros. However, these are only available if you pay for the template club.
With my standard access, you do get a bunch of templates (I think it is about 85). However, that is spread across all of the categories. This includes intros, outros, titles, lower thirds, etc. In terms of the number of intros you get, I think there were about a dozen in there. Which sucks. There were only a few I would actually want to use.
Using the software was okay. It is pretty fast. However, there is no preview. So if you have to do it and see what the result is. Then, if you don’t like something, such as the logo or colours, you have to do it all again. This is a little frustrating on the unlimited plan. On the 30 renders per month plan, that would be very frustrating.
Is it worth it?
It depends on how much you will use it. But, for me, no.
Because there are only a handful of intros on the basic package, I don’t think I would get much use out of it.
The other option is to pay for the template club. But this means you are paying $67 up front plus $37 per month, which is approximately $42 per month. As they point out in their video, there are people on Fiverr reselling their stuff. For $5 each. So, you need to be doing at least nine unique videos per month before it becomes cheaper to use Viddyoze rather than just hiring someone on Fiverr each time.
Is there a money-back guarantee?
Yep, 30 days. When I requested my refund they sent me a form to fill out with various transaction IDs I had to dig out of my emails. After that, they refunded me two later, which all seems reasonable.
If you have done any talking head or tutorial videos, you may have run into a problem. Namely, that your videos suck. I know mine do. Yours are probably way better. But there is still a clear distinction between your videos and what the pros produce, right?
This is the problem I have been trying to solve. I have a nice camera, so it should be possible.
Lighting
The first thing I did to improve my videos was to bring in some proper lighting. I have two softboxes with high-output bulbs on them. In an ideal world, you would have three to set up the industry-standard three point lighting arrangement. My kit only came with two, though, so I have had to make do with other lights around my house to fill in the gaps.
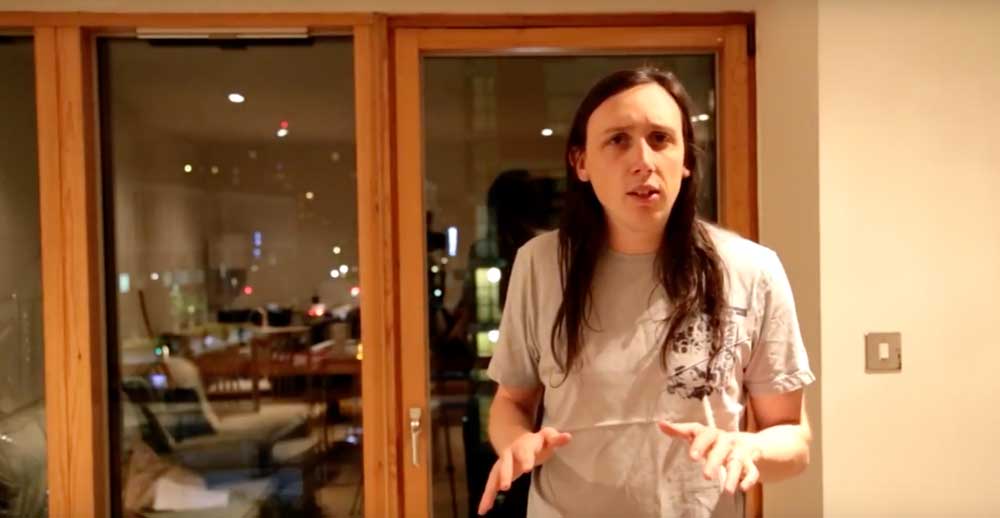
For comparison, here is me under my natural houselights:
It doesn’t look terrible: it appears natural. However, one side of my face is over-exposed while the other is in shadow. My eye sockets are too dark. Detail is lost.
Here is my ugly face in the studio lights:
Notice that the shadows in my face are filled in. It is not the dark and gloomy picture you tend to get when just using your standard home lighting.
Things are looking a little better. My next jump is the one I want to discuss in this blog post: using a shallow depth of field.
Why depth of field is important
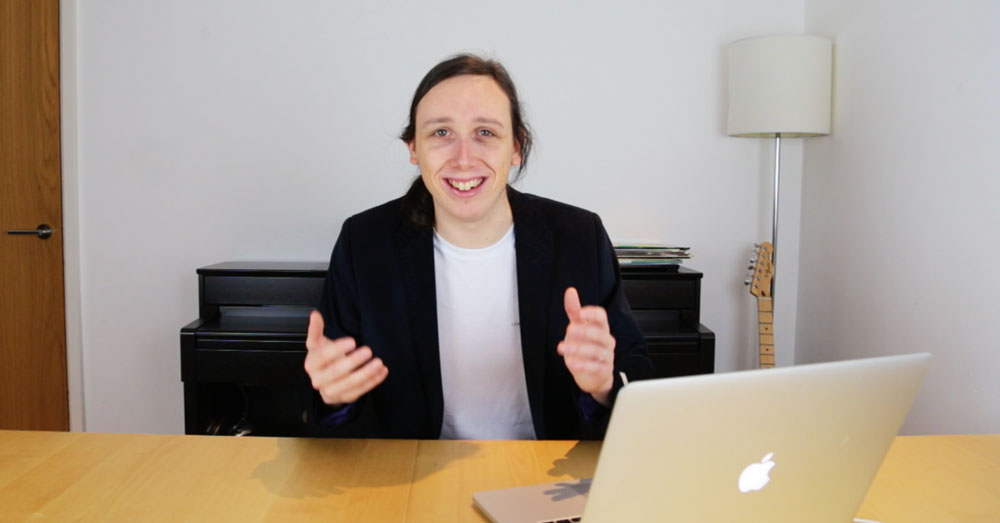
Most people do not have a home studio. Therefore, your background is whatever you can find. In the video still above, I have the piano in the background. This works well but does mean I have nothing but hard surfaces behind me, resulting in a lot of echo.
Any background is going to be distracting, though. The ideal solution is to have the background blurred so that the audience focus on the talent exclusively.
Using a large aperture
The way we create this affect is using a large aperture. The above clip was filmed with my 24-105mm lens. This is a nice piece of kit but only goes down to f4. So I switched it out for my 50mm prime lens so that I could shoot at 50mm.
Here is the result:
I spent no time getting the lighting right, composing the shot to make sure I was in it, or working out what I was going to say. And yet, it looks cool. I am in focus while the window behind me is very blurred.
How to keep yourself in focus
The pros have someone to shoot the video and somebody else to be the talent. When you are on your own, you do not have that luxury. One of the problems with shooting at a high aperture is that the depth of field is incredibly shallow. This is the effect we want: however, it does mean it is tricky to get the focus point correct and stay within in.
Enter EOS Utilities from Canon. This little piece of software allows you to remotely control your camera from your computer.
My EOS 6D has wifi. However, I could not shoot live video over wifi. Therefore, I had to connect it using the mini-USB port on my camera. Once I had done this, I was able to get full control over the live shooting mode from my laptop.
This means that I can be in position and then set the camera up. By clicking on the screen where I want the focus to be (my head) the camera’s autofocus then adjusts to set it correctly.
Remember that if you want full control, you need to set the camera to manual (M). This applies for the software, too: if you want all of the controls on your computer, you need to alter the dial on the camera itself.